Skip to content

Crooked Beak Acres

A Life's Journey Farming with Draft Horses

  • Community Supported Agriculture (CSA)
  • Our Farm
  • About Us
  • Our Horses
  • National CSA Week 2023

Author: Lisa Mobius

New Beginnings

Posted on May 6, 2020May 6, 2020 by Lisa Mobius
Memories from last year

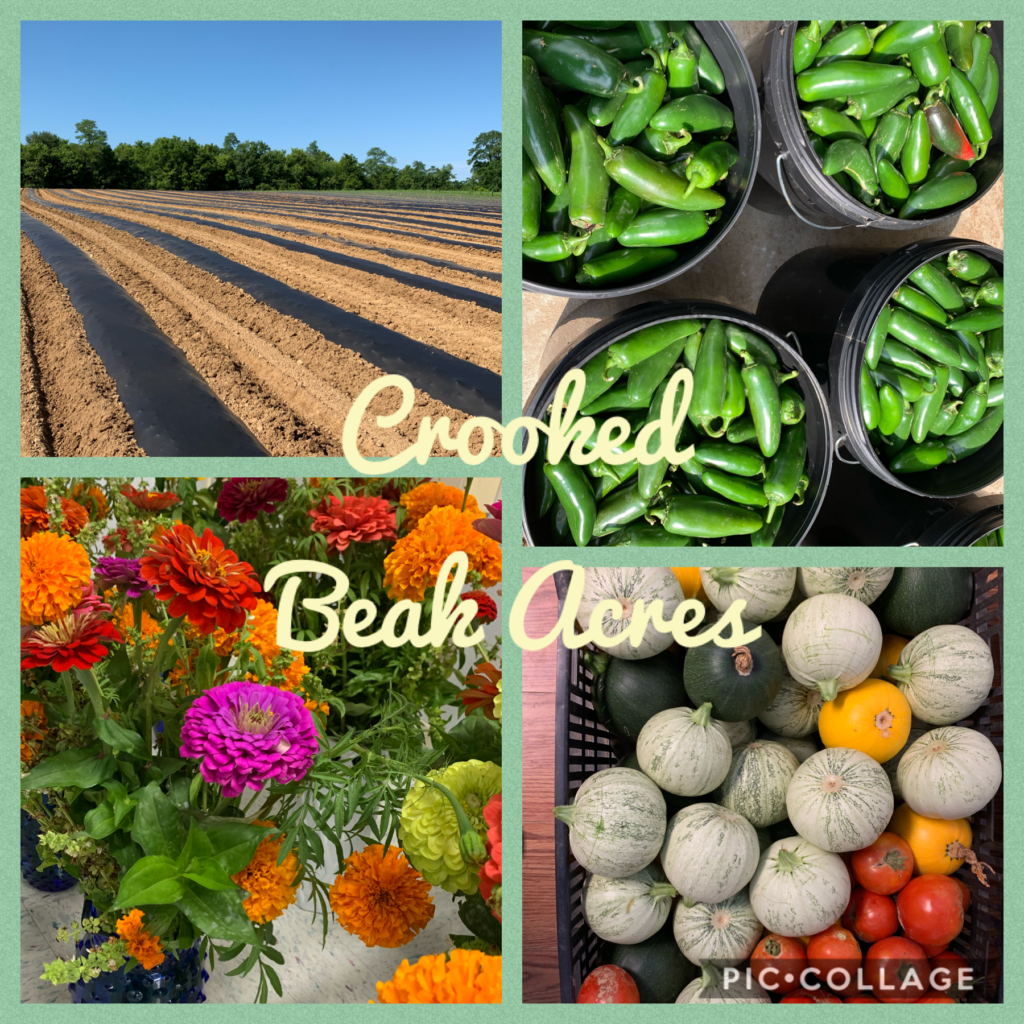
This year has certainly brought on new outlook on life. COVID-19 has brought on new life practices and changed the way many of us are living our lives. Here at Crooked Beak Acres, we have changed our product lines from commercial sales to offering CSA shares to the local community. We have moved from one main crop to… well, about everything. I can say, however, that we are doing everything to adhere to the new practices set forth by federal and state regulations.

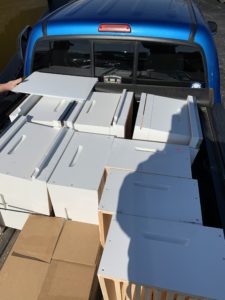
As many of you already know, we have added CSA vegetable shares into our growing season. We will now be offering fully customizable boxes on a weekly basis, giving our customers the most flexibility in choosing which items to include in their shares each time they order. Choosing not to require the yearly purchase is huge risk, but we feel it is best for our customers this season. Maybe next year will be different, but we will see.

Our plan was to set up a small “farmers market” on our farm once a week and allow customers to come and pick out items while they are here. Unfortunately, state regulations will not allow that, so we will have to pack orders prior to pick-up. We can still display items, but only myself and the staff will be able to handle the items. For convenience, we’ve created an online storefront so customers can order ahead of time and even pay online if they choose. Even with these changes, we are determined to be the most flexible CSA farm out there. This is all about customer service.

Low Tunnels

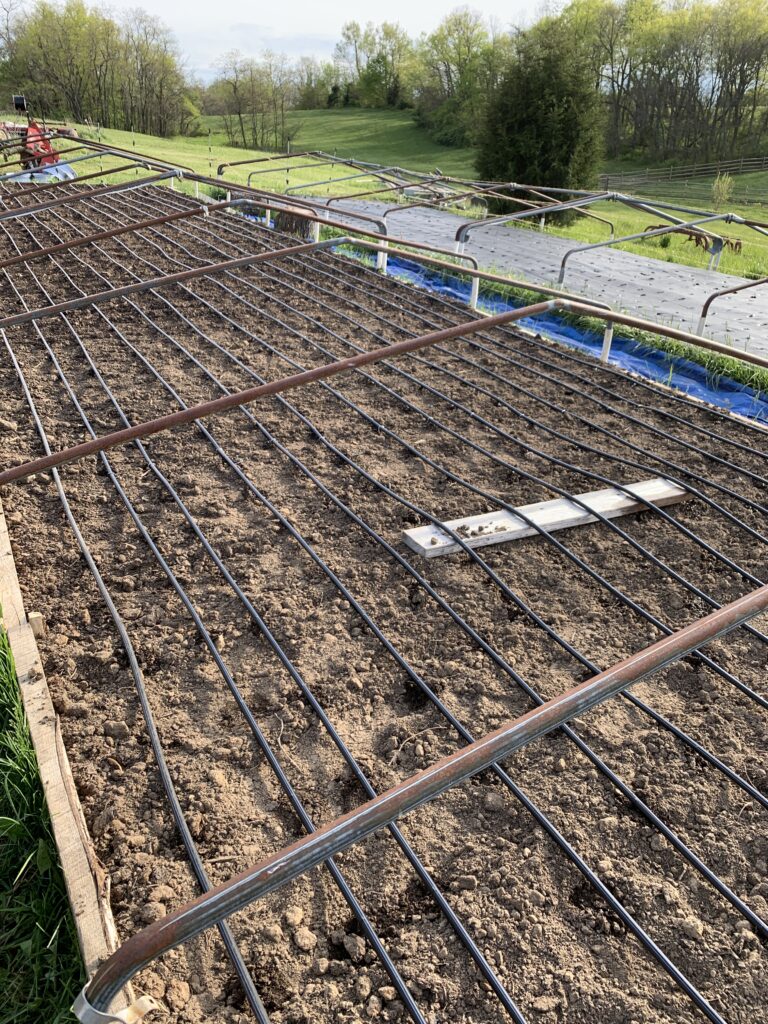
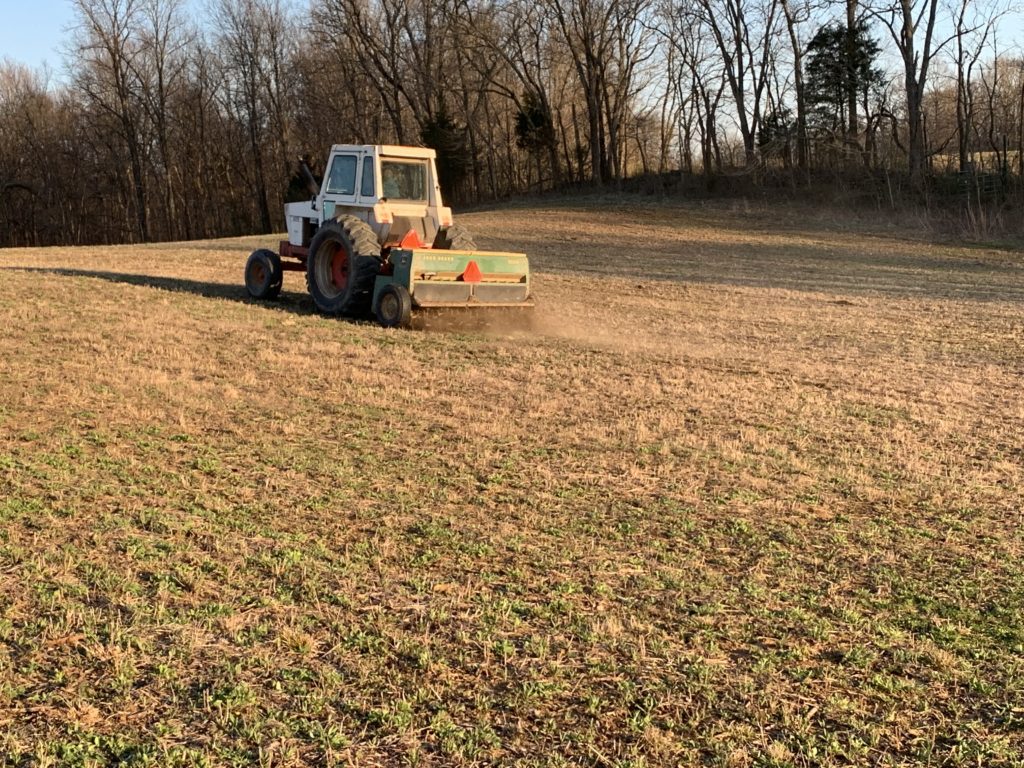
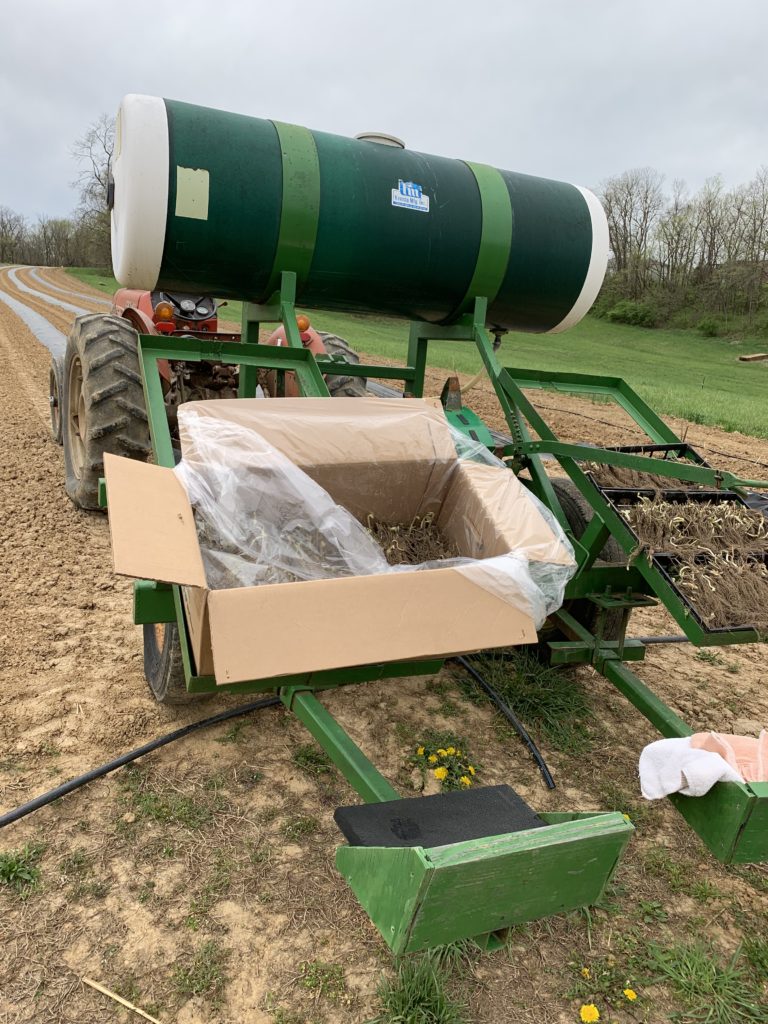
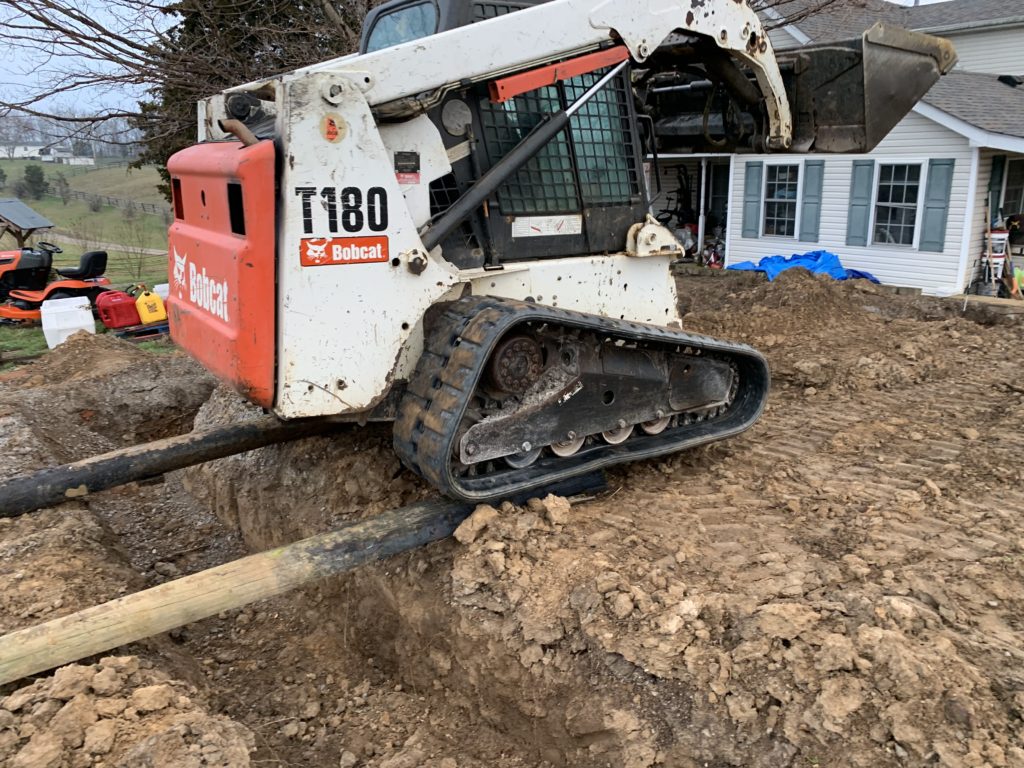
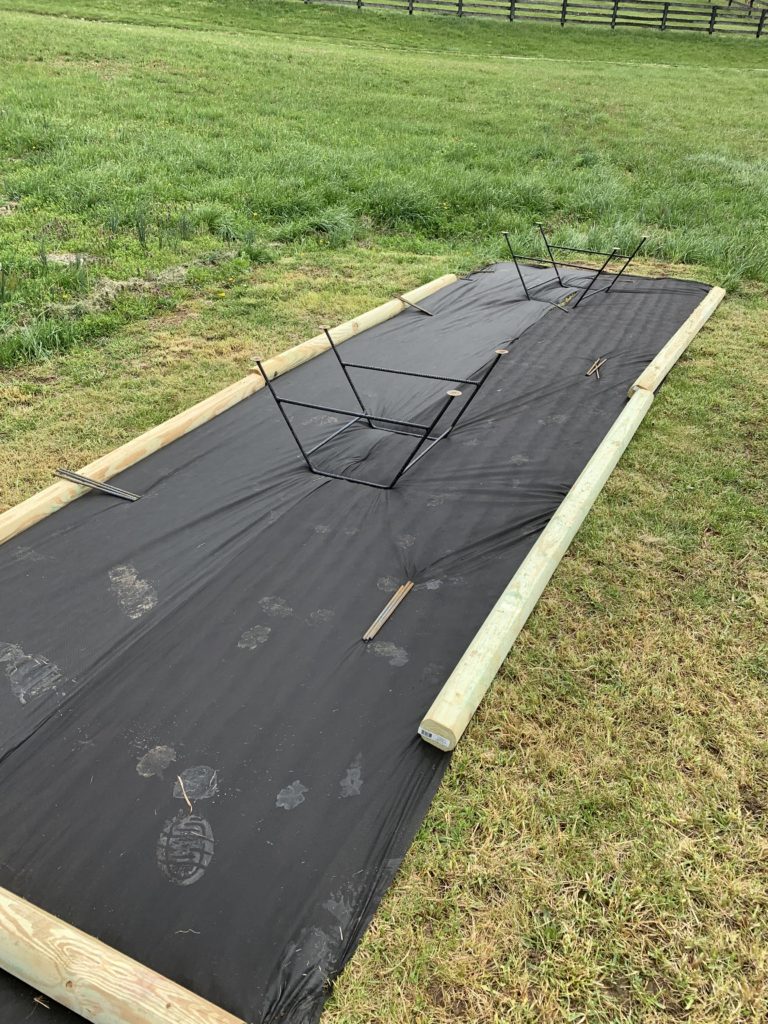
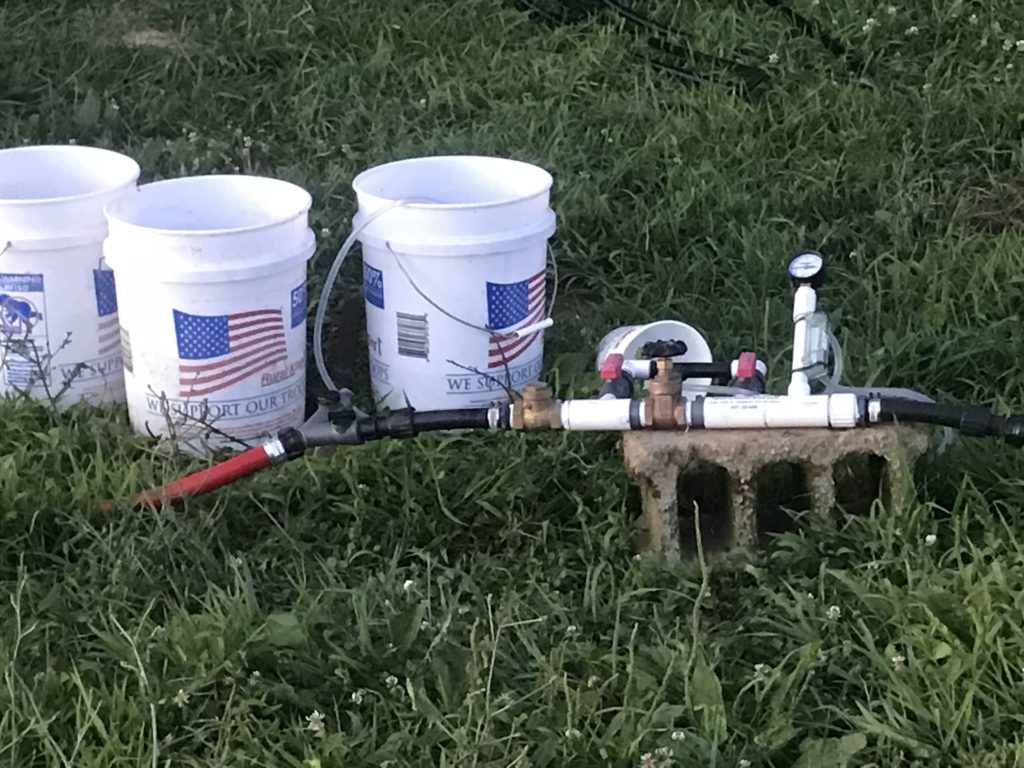
We have made some exciting changes here on the farm. Two new low tunnels were added for the raised beds, and two more are coming. We have also added a temporary high tunnel to use before we get our greenhouse up this summer. If all goes well, I am hoping to be offering vegetables all year long. Since purchasing the adjacent land on both sides of us, we have been able to add new hay fields for our horses also. We’ll have about 30 acres in hay this year, so hopefully, it will provide enough hay for the animals during the winter (and not to mention saving us a bundle).

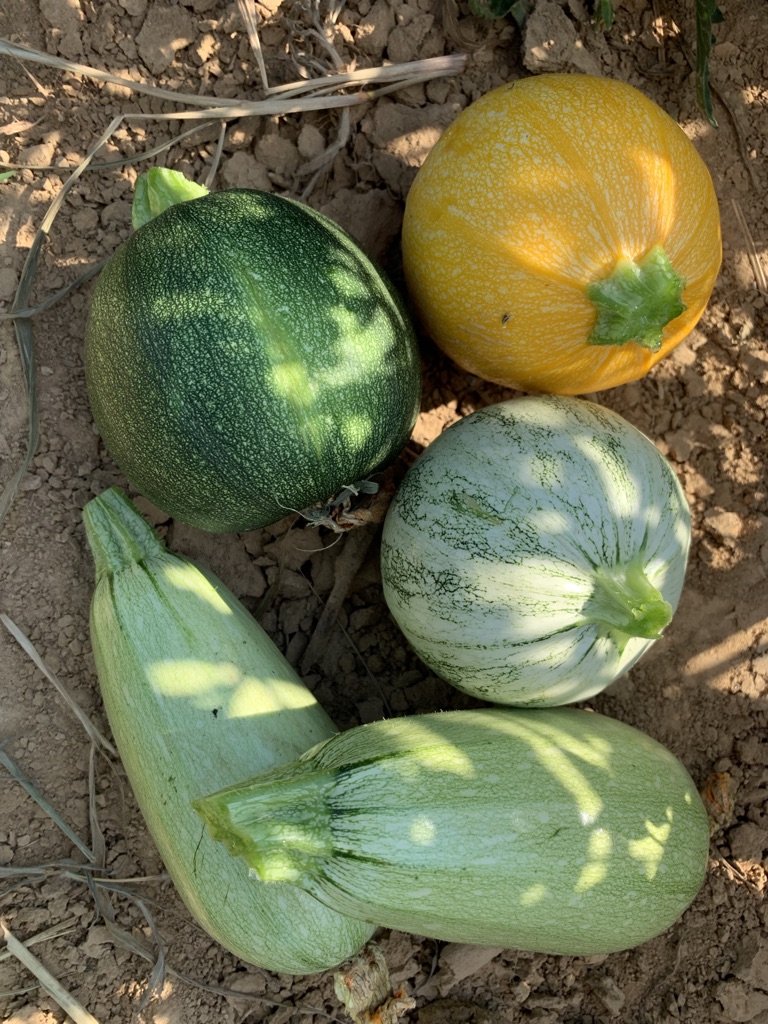
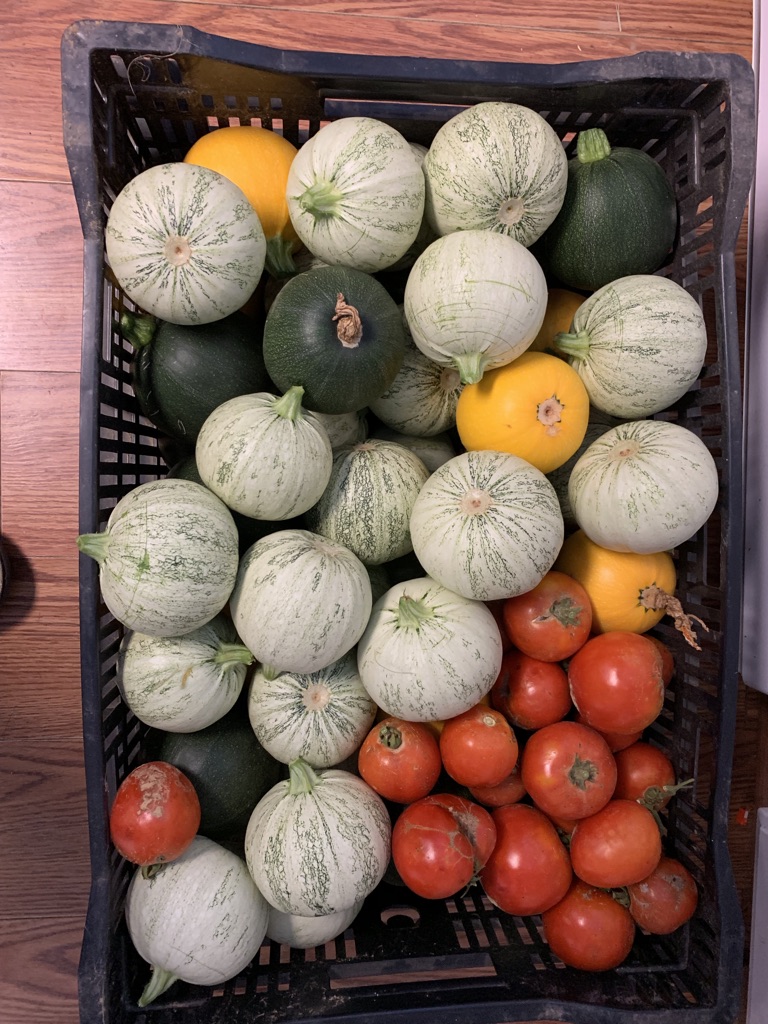
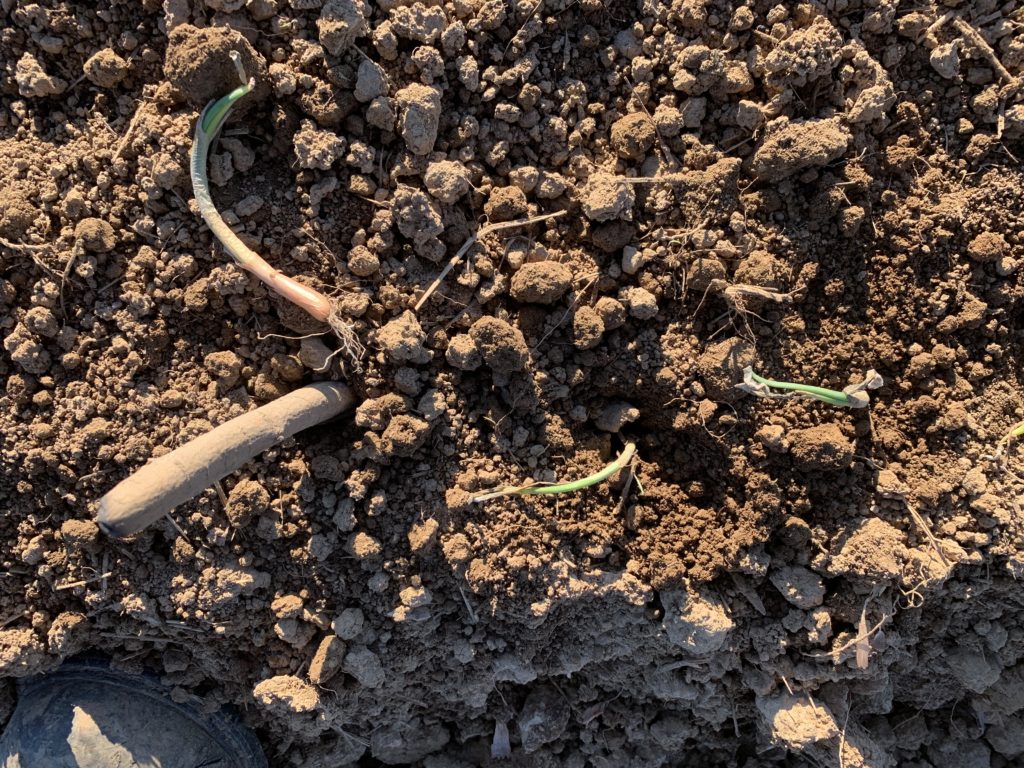
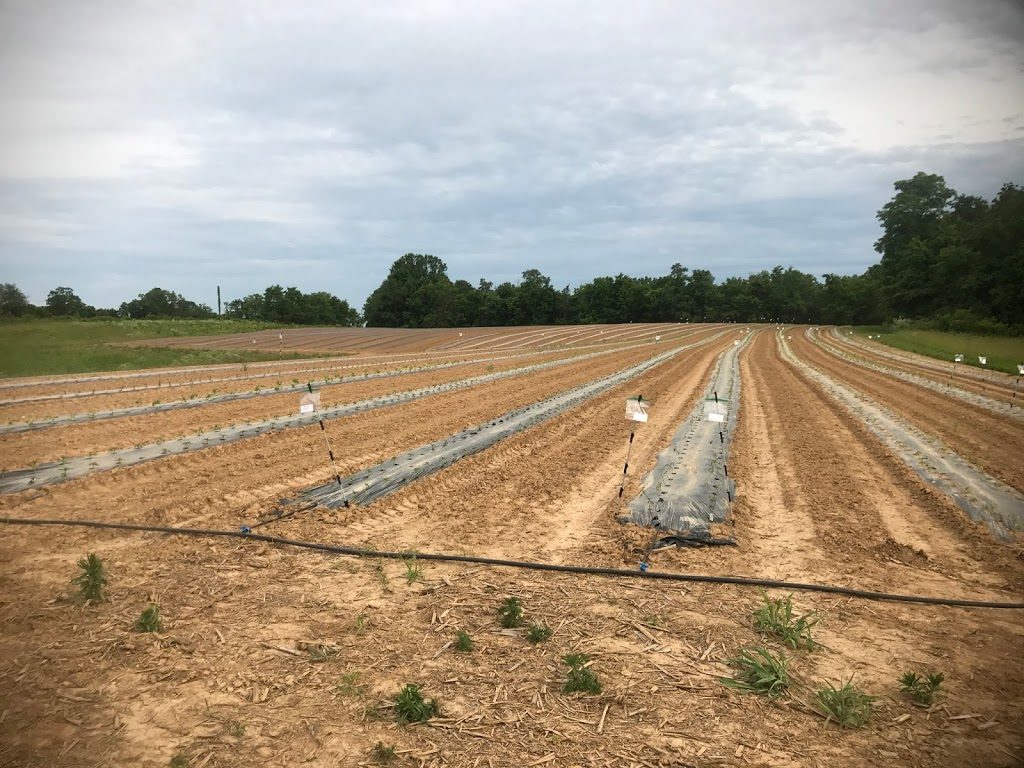
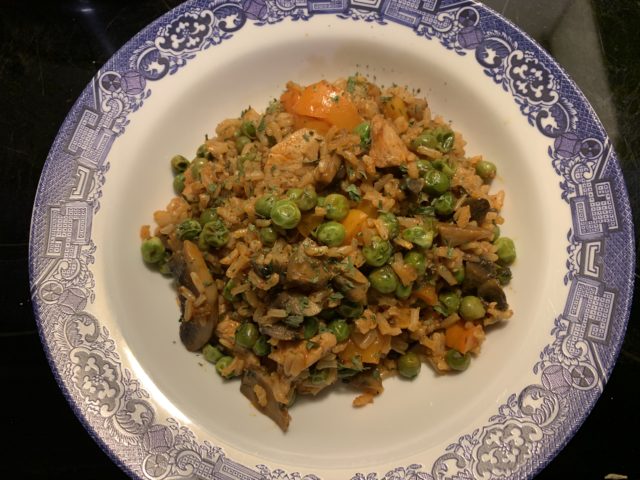
Offering the CSA is allowing us to grow a variety of items that I am so excited about. The last few years, our main crop has been peppers, both sweet and hot. My mouth is watering about all the different types of vegetables we are adding. From lettuce to onions, squash, beans, peas, tomatoes, herbs, and so many more, we are so excited to see the end product.

More to come in the near future, so stay tuned.

Posted in Farm Life, Produce, VeggetablesTagged CSA, farm, farming, produce, veget

CSA Time

Posted on February 6, 2020May 6, 2020 by Lisa Mobius

Quick!! Sit down and grab a seat for some exciting news! Crooked Beak Acres is offering a CSA this year to the local community. CSA is a Community Supported Agriculture program. Traditionally these programs are pre-purchased in the beginning of the season. However, we do not feel comfortable with this process and instead, our program will be offered on a weekly basis with your choice of seasonal products. This way, when you are out of town or too busy to cook, there is no worry about a scheduled order.

We will offer small and large boxes of available vegetables grown here on our farm. The small size will have 5-7 vegetables and the large size will have 8-12 vegetables. Offerings will consist of greens, lettuces, herbs (fresh and dried), squash, tomatoes, cucumbers, root crops, and more. We will have more information in the near future, so stay tuned for all of the delicious details. Below are some items we had last year. Eggplant, patty pan squash, tomatoes, jalapeno’s, poblano’s, green peppers, kale, assorted herbs, and even flowers.

Many would think this is a slow time for farmers. However, I consider it one of the busiest as we are doing maintenance on equipment, preparing new fields or raised beds, choosing which seeds to purchase, and much, much more. Since we are incorporating the CSA into our produce growing, the pre-season preparation is increasing as well, such as adding in some smaller cold frame beds. Here is a photo of what our beds will look like. This is from a local farmer who did not need them anymore. She had some greens and herbs in them. I am so excited about these!!

That’s all for now. Stay tuned for more exciting news and don’t forget to sign up for email updates.

Posted in Farm Life, Food, Produce, VeggetablesTagged CSA, homegrown by heros, kentucky proud, Local Farmer, Locally grown, produce, Shelby County, vegetables

Easy Steps to ‘Installing’ Bees into a Hive

Posted on April 23, 2019April 23, 2019 by Lisa Mobius
New Hive Location

First off, we are no experts! This is our first attempt at honeybees but I wanted to pass some information along that was very helpful in our venture. Below you will find the steps that we used to make our experience easy, quick, and pretty much simple.

  • Find a Reputable Bee supplier
  • Purchase all start-up equipment
  • Ask a ton of questions while doing so… (of course you could make it easy and take a class from the extension office or your state bee club… we chose the hard way…never time to take a class this time of year)
  • Place an order for the number of hives you want (also match the hive set-up too)
  • Set up the site for the bees
  • Assemble the frames
  • Place the hives out in the prepared area
  • Pick up your bees……. ‘install’ method below

Our first step was taking a ‘bee introduction’ class at our extension office. This was in November (I think) during our slow time at the farm. It gave me a lot of ideas, but not the answers I wanted. Honestly, I am afraid of the bees. I was never comfortable with them and do not like getting stung. But then who does, right? I wanted to ‘rent’ some hives from someone with experience. At this point I only wanted the pollinators and was not interested in the honey. Anyways, since this did not work I was told to buy hives and bees and let them go each year. I did not like this idea either so here we are brand new bee owners with all the equipment to go with them. Actually, we are pretty excited about it too, even as apprehensive as I am.

So, I found a supplier all the way across the state that would help me and answer all of the questions I had. What a great person! Jim Cross from the Honey and Bee Connection in Morehead, KY. He suggested only items that I needed to work the bees and not all of the extras and super nice toys that some have. We bought four hives, suits, vitamins, and other items that we needed for the start. Oh, and of course four packages of Italian bees.

We picked out a site in our orchard. See picture above. This will provide the pollination for the orchard and also in a direct flight line with the produce fields. You want the opening of the hive to face South East. So I got out my compass on my phone and set up the site. We were going to remove the grass first… but ran out of time so I just placed the weed barrier paper on top and then we added a wooden barrier around the barrier. Then the gravel (we used limestone fines) was placed in and the hives set up facing southeast. Make sure to level the hives. We were told they need to be perfectly level. Off to pick up the bees.

  • Bee Packages
  • Queen Cage
  • Queen Placement

At the time of pick-up, we were given the instruction on how to place the bees in the hives. This made it easy. Jim’s employee walked several of us through the process of how to do this.

  • Tap the box on the ground to shake the bees down from the queen and the can that is in the box
  • Remove the lid to the can, then the can and replace the top cover
  • Shake the bees down again
  • Remove the top cover and pull out the queen, shaking as necessary to remove the bees from her little cage, remove the cap and put the little hanger on the other side of her cage
  • Take the queen cage and staple it to the middle frame at the top and push the frames back together
  • Take the box of bees and place upside down so the hole will be over the queen
  • Gently pull the cover our from the box
  • Place an empty super over the bees, then the inside cover and lid
  • 24 hours later, remove the queen cage and pull the extra super then replace the lid and leave them alone for a week
  • One week later, make sure the queen is laying eggs
  • One week later, make sure
  • Bee Package Placement
  • Adding the empty Super
  • Feeding the bees

Sound simple enough, right? John had to do this himself. I had military duty so he was on his own and I have to say he did an excellent job. Even took the photos for me. If you have any questions, let us know. We will be glad to answer any that we can, and if not we can always ask The Honey and Been Connection.


Posted in Farm Life, Life's Lessons, UncategorizedTagged beehives, bees, flowers, honey, pollination, pollinators, produce7 Comments on Easy Steps to ‘Installing’ Bees into a Hive

How to Multi-Task Spring Farm Projects

Posted on April 15, 2019April 16, 2019 by Lisa Mobius
New Spring Flowers

It never fails, springtime is busy and this year has been busier than ever. For many full-time farmers, this time of the year is a bit easier for them than those who work full-time off the farm and work the farm business as a second job. Well, the latter is my husband and I. We both have full-time jobs that take much of our time and in addition, we are both still quite active in our military Reserve careers, which only adds to the challenges when faced with the multitude of projects that need to get done this time of year.

  • Make a detailed list
  • Discuss all projects
  • Place in numeric order with highest priority on top
  • Determine what can be done personally, reflecting time, capability, and available resources
  • Pull out what can be done personally and start another list keeping the same numeric ordering
  • Determine what can be hired out, or convince friends for help if available
  • Start projects with highest priority first. Many can be done simultaneously.

My first accomplishment… finished my LAST required class for my Masters Degree! I have my capstone to do still, and will most likely do that this fall when the produce season is over.

Seeding the new Hay Field

The first project on the books this spring was the hay fields. John and I have some great debates sometimes. For the last year or so I have been talking about starting a ‘pick-your-own’ strawberry patch in the ‘front 5’ acres (we have names for each field that we both understand). He was so against it. Mainly because of our time restraints, but also to cut the huge cost of our yearly hay bill. I knew we had to do something to cut the cost, but my heart was set on strawberries! So last year we purchased some hay equipment to prepare for this year. John convinced me to give up my berry patch and plant a hay field there to lower the costs of our yearly hay bill. After much consideration, John won. More on that later. We missed the planting time last fall, so a friend of ours came over with his equipment and seeded in the front acreage and re-seeded some of our existing pastures. So thankful for wonderful neighbors, and the first major project is done! My answer to multi-tasking is to hire out what you cannot do yourselves. Consider all of the possibilities but place your priorities up front. This was a MUST for us and we were not able to do this ourselves.

You are probably wondering how John “sort of” won the battle. Well, he might have gotten his hay field but I am still getting to plant my strawberries. We decided to plant ever-bearing strawberries in our main field and move most of the peppers into another field. While this will not be a pick-your-own patch, it will give us berries to sell all summer. If this works and doesn’t stress us too much we will add to this by preparing another field and planting more this fall for a bumper spring crop. The berries will be planted on black mulch like all of the other vegetables and irrigated with drip tape.

  • The best onion planting tool
  • Ready to plant Strawberries

The next major project was preparing some of the fields for early crops such as onions and strawberries. I had prepped some of the fields while John was off in Germany on military duty and started planting. I have no idea what got into me when I ordered them other than seeing the more you buy the cheaper the bunches were. So funny! I’m nearly at the end of one of our larger rows… 550+ feet, and I still have some left over. Goodness. If I figured right, at a 4″ spacing in a double row… it is roughly 3000 plants. I have the most awesome planting tool too! I might even patent this one. LOL… We do not have any commercial high-tech planting machine for these so I opted for the old stick method and my hand. Yes, that is nearly 3000 onions planted by hand. Goodness, what was I thinking? I found it quite relaxing, however, and the next major project done. Again, priorities are a must. Sure other things need to be done too, but these were more important. I always make lists. Once I see what needs to be done, then I prioritize. It helps in determining what is more important or what is on a time constraint.

  • Tree must come down
  • Daisy on watch!
  • Davenport Excavating and Trucking
  • Davenport Excavating and Trucking

The next major project we had a partial role in. There was a large tree beside our back door that needed to come down. Not only was it half rotted and had the potential of falling we had decided to build a garage right there. Too close for comfort we hired an expert to cut it down. We cut the log into roughly 10-foot pieces to haul to the sawmill to be cut for barn siding. Then we rented an excavator and I dug the stump out and the footer for the garage. We had Davenport Excavating and Trucking come and level the site for us. Tracy’s crew was outstanding and really had the work completed in a very short time so I had them do some other small jobs that have been on our list for a while… like cleaning out the barn. We do not have this type of equipment to do so. Then hired a contractor to lay block, pour concrete and put up the main structure. Still under construction, but another project I can consider nearly done. Again here, priorities and know what you can and cannot do.

Fence time. Most of our property has the Kentucky 4 Board fence installed. It has been around for quite a few years and is severely deteriorating and the horses have broken through in several areas, including breaking the fence posts right off at the ground. While we had started installing split rail in another field last year, we did not get a chance to finish it. So, while we are busy planting berries and getting ready for the bees this weekend, we had someone come out and fix some of the boards. Yes, we are quite capable of fixing fence ourselves, and have done quite a bit of it, but right now we have other projects that absolutely need our personal attention. About half of the perimeter fencing is now fixed. Yes, had to hire out, but necessary in order for us to work on other projects.

  • Honeybee area preparation

On to the bees. Our honey bees will arrive this Saturday and we are not quite ready. I cleared an area in our orchard yesterday and laid down weed barrier fabric. We will place some stone in there to keep the area weed free. Today, John and I installed a boarder of treated landscaping timbers around the outside to keep the stone in place and make the area easier to mow. Another project done! We will now work on the frames that go inside of the hives this week and get them out there ready to go. Yes, I’d say we are a bit behind the eight ball here, but it will be done by Friday.

Time to enjoy nature. Spring flowers are popping up all over. I had planted several down by the new fence last fall (photo at top of page). I am so happy they have bloomed. The goal is to line the entire fence-line with flowers so we have fresh flowers all year. This is still a work in progress… you can see the string line still on the fence, and the tiller in the background. LOL… It also helps the bees too. Oh dear, our bees are coming next week too! We have to get busy. We haven’t even assembled the frames for them. At least I know what we will be doing this weekend during the rain. Stay tuned for more updates on planting, bees, and projects.

Posted in Farm Life, Life's Lessons, Produce, UncategorizedTagged farmlife, garden, onions, planting, produce, projects, strawberries1 Comment on How to Multi-Task Spring Farm Projects

Garden Irrigation

Posted on April 12, 2019April 12, 2019 by Lisa Mobius
Our field with drip irrigation

I have had many requests asking what is the easiest way to irrigate a garden. While there are multiple different ways to accomplish this, we have found this way works the best for our fields. Even if you do not use the plasticulture, the drip irrigation will still work well. You will need the following supplies:

  • Water irrigation lines (we like AquaTraxx)
  • Mainline piping
  • Shut off valves
  • Fertilizer injection system
  • Water pressure reducer
  • End caps for lines, both drip tape and mainlines
  • Drip line connectors
  • Back-flow valve

In our system, we have always used a 1 3/4 inch garden hose to bring water to the field. This is connected to the water pressure reducer (if needed) and the backflow valve. Then it is connected to the fertilizer injection pump and then to another water hose that runs out to the mainlines. Our main lines run along the edge of the fields and connect to each drip tape at the beginning of each row. If your rows are wider, you can add two drip lines for each. Use the connectors to connect the main to the tape and an end cap on each drip.

First step: Water source. What type are you using? We use a 1 3/4 garden hose (see below for updates and changes). Run the hose out to the area you are irrigating.

Second step: Run drip tape in each row and place end caps in each end. One drip tape is enough, but you can use two if you choose.

Third step: Lay out main water line at the end of the rows. Connect the drip tape lines to the main line with the dripline connectors containing the shut off valve.

Fourth step: In smaller systems, you can place your water source right in line with the main line at the garden. To do this, connect a backflow device on the end of your water hose. The ones we use have a water pressure reducer already installed, but if yours does not you will need to add this also. Connect this to your fertilizer injector and directly connect this to your main line. You are now done at this point.

Fifth step: Set up your fertilizer using your instructions. Ours has a small tube that is placed into a bucket or large tank containing the fertilizer, which places the right amount of fertilizer into the water flow. You are now ready to make your growing season much easier with using drip tape irrigation.

UPDATE: We are making some changes this year to the main water source. In smaller gardens, it is easy to water with a garden hose that is connected to the main line and drip tape. Unfortunately, in the longer rows like we have… 600 feet in the larger rows… we need a little extra push. We will use a 1000 gallon tank fortified with a water pump which will push and force the water out to the rows. We found this out the hard way by running our water 24/7 and it still was not enough. The system sounds difficult, but once you see a diagram it really is easy. Hope this helps everyone with their watering systems this season. Just send me a message if you need more information.

Posted in Farm Life, Produce, UncategorizedTagged driptape, fertilizer, garden, irrigation, produce, water system

Chicken and Rice

Chicken and Rice


Print Recipe


Chicken and Rice

Simple and easy classic chicken and rice done in 30 minutes. The recipe can be adjusted for serving sizes by adding or removing items. If adjusting the rice you will need to add more stock, and so forth.


Course Main Dish
Cuisine American
Keyword Chicken

Prep Time 10
Cook Time 30

Servings


Ingredients
  • 3 Each Chicken Breast de-boned
  • 4 TBL olive oil
  • 4 TBL Butter
  • 2 Cup Mushrooms rough chopped
  • 1/2 Each Onion diced
  • 4 Cup Chicken Stock will vary
  • 1 Each Pepper red, orange, green, optional
  • 2 Cup Rice
  • 2 Cup Peas
  • 1 TBL Paprika
  • Salt and Pepper to taste


Instructions
  1. PREP and Set Aside:
    Cut chicken breasts into small bite-sized pieces
    Dice Onion
    Rough chop Mushrooms
    Dice Pepper

  2. Place butter and olive oil in saute pan. Add chicken when hot and saute until done.

    Add onions and mushrooms: you may need to add some more oil and/or butter here if the mushrooms soaked up all of what was in the pan.
    Saute briefly until onions and mushrooms are soft.

  3. Add 2 cups of the chicken stock (or if you want to use water and chicken base, that is fine).
    Add rice and bring to a boil.
    Reduce heat to simmer.
    Add more stock when necessary as mixture cooks.

  4. While simmering, continue to add liquid until rice is tender

  5. Add chopped vegetables (pepprs, peas) when liquid is nearly gone.
    Simmer until these are tender.
    Remove from heat and serve.

Powered by WP Ultimate Recipe

1 Comment on Chicken and Rice

A Little Bee Told Me…

Posted on February 18, 2019February 18, 2019 by Lisa Mobius
Just Buzzing Around the Farm

When we started growing produce, we added lots of cut flowers into our fields. Mainly sunflowers and zinnias with a few others mixed in. One of my favorite zinnias was the giant queen red lime. I will add the link below where you can find it. Although we grew many different varieties of sunflowers, the chocolate and red varieties were my favorites. One thing we noticed that year were the bees. There were tons and tons of honey bees in the flowers. Before we planted we did talk to some experts at the extension office, who told us with the two acres of produce we would not need hives. We should have been able to rely on whatever was out there. I guess they were right since there were so many. The flowers had brought in tons of bees. There wasn’t a time where I went out there and didn’t find hundreds.

But last year, we could not find a single bee out there. The only thing we changed that year was that we skipped planting the flowers. This year the plan is to incorporate the flowers back into the fields in addition to purchasing four beehive set-ups. Yesterday, we picked up the hives and other supplies that we will need. The bees are scheduled to arrive in mid-April. I am real excited about them but at the same time a bit hesitant. I am not comfortable with bees or other insects that sting. John is allergic also and has been to the hospital a couple times for insect stings.

Picking up the hives

So, what do I know about bees? Well, that answer is just about nothing other than they pollinate flowers and fruiting plants. They are a necessity. One thing I learned at the vegetable conference last month was that there are certain plants you can plant that attract the “bad” bugs helping to keep them away from the good ones. So the sunflowers that we planted that year helped to keep the stink bugs and other insects away from our peppers. Sunflowers, buckwheat, and a couple others can be planted in blocks around the field will help lure the bad bugs there and keep them from the peppers. So the plan this year is not only to add the sunflowers back, maybe put in some buckwheat, and to add some flowers in the fields as well. That will naturally help remove some of the insects from the fields and reduce the number of sprays we use, which will help us achieve our organic goals. The flowers will help the bees and that will help our peppers and other produce that we have. I’m taking this as a “win – win” situation.

Posted in Farm Life, Life's Lessons, Produce, UncategorizedTagged bees, farming, garden, honey, life, pollination, produce

Let’s Talk Solar

Posted on February 12, 2019April 27, 2019 by Lisa Mobius

Have you ever been through a disaster? Well, here is a simple checklist of a few items that we use. It is not all-inclusive, but these items do make your situation more comfortable.

  • Food and Water
  • Medications
  • Flashlights and Batteries
  • Emergency Radio
  • Power Source such as Solar or Generator
  • Pet Food

I believe I had mentioned that we consider ourselves “preppers”. We believe in being prepared. No, we don’t go to the extreme but knowing that we can survive a disaster gives us a peace of mind. The mindset probably started with my emergency management background and being a paramedic for so many years, but it is important to know what to do and when.

For those who aren’t knowledgeable, the best place to start is with the basics. Food and water for three to five days per person. If you have pets, then the same would be relevant to them. With pets, make sure you have all applicable paperwork and photographs and registration papers if available for verification. Basic first aid kits are needed along with any prescription medications for each person.

This is one of the reasons we decided to use draft horses for part of our farming. Yes, I said partly. HaHa. One day the intention is to rely solely on them but for now it is only certain jobs that we can use them for. Farming with horses is a dying art and one that would be needed in the event of a meltdown of the country. Yeah, most likely will not happen, but it gave me an excuse to buy a team of horses. Rusty and Duke, our first two horses, are able to plow, cultivate, plant, harvest, and if necessary move us with wagons to where ever we need to go. Simple and old fashioned horse power.

Thank you Goal Zero!

Lastly, I want to mention one more thing. Solar power. It is quite necessary to have some type of alternate power source. We have not gone solar yet but hopefully by the end of this year we might be partially solar. In the meantime we came across Goal Zero. They provide portable power systems for just about anything. We bought this one below and it powers our lights in the barn along with small electrics. Check it out.

Posted in Farm Life, Life's Lessons, UncategorizedTagged disaster, horses, necessities, pets, Preparedness, prepping, solar

Stuffed Mushrooms

Posted on February 8, 2019February 8, 2019 by Lisa Mobius

I promised good food and recipes. Here is one I want to share. My mom has been making stuffed mushrooms for years. Some of the best if you ask me and many others who have had the pleasure of tasting these over time. Ours is stuffed with Italian Sausage…not crab, or lobster, or other proteins. We love our Italian sausage, and if I don’t say so myself I make a pretty good home-made one.

Italian Sausage Stuffed Mushrooms

I cannot share a recipe but I can share how I prepare them. First, remove the stem from the mushroom and place the caps on a baking sheet lined with parchment or non-stick liner.

Prepare the other ingredients. Small dice a couple peppers. Green, red, yellow, orange…it does not matter. Set them aside. Take the mushroom stems and place in food processor to rough chop and set aside. Place sausage in skillet and brown. Scrape the bottom several times to prevent sticking. Drain off the fat. Return back to burner and add chopped stems and peppers. Sautee for a few more minutes.

Sausage, pepper, stem mixture

Remove this mixture from the skillet and place in large bowl. Now add mozzarella cheese and bread crumbs. I add about 12 ounces of cheese when I use 2 pounds of sausage. Mix this quickly to help it melt. Add bread crumbs to make mixture stick together. This is why I cannot provide a recipe. It all depends on how much fat is in your sausage and how much cheese you used. What you are looking for is a nice mixture that forms a ball and will not fall apart when you stuff the mushroom.

Let this mixture set until cool enough to stuff the caps. Once cool, just scoop up a small ball and fill the mushroom. Make sure you have enough mixture to make a nice round ball on the top of the cap. At this time, you can either bake them in a 350 degree oven or put them in a container and freeze. I make a large batch and freeze them all the time. Makes it easy to pull out and bake for quick appetizers. At the end of baking put a little more cheese on the top. Choose your flavor here. Enjoy.

Well, comment below and let me know how your’s turned out or what other type of recipe you would like to see.

Posted in Food, VeggetablesTagged appetizers, comfortfood, food, Mushrooms, peppers

Starting the Season

Posted on January 24, 2019February 18, 2019 by Lisa Mobius
Mike

Hello to 2019! Welcome back to our blog and new website. We have reformatted to include pages of recipes, information about us, our farm and our horses. This is a journey with much laughter and tears as we work towards our goals of self-sustainability, healthy lifestyles, some fitness ideas, and much, much more. Enjoy!

It is January and the beginning of the new season. I consider the Vegetable and Produce conference the season start because this is where we all come to discuss the past year’s growing season, the good and the bad, and what worked and what did not work. It is also a large networking system where we meet other growers, farmers, experts, and educators. January is when the seed catalogs start pouring into our mailboxes and we decide which new seed we will try this year. I love this time of year. It is exciting!

John and I are discussing how we will make changes to our fields. Learning from the last couple years, our irrigation system must be changed this year. We came across a couple ideas from our distributor and other growers that will most definitely improve our watering system. We are also contemplating changing our row distance. In the past we have allowed a large area between them to allow our equipment and horses in. We have cultivated between them in the past, but last year we decided to let the weeks grow and mow it down each week. Unfortunately, the rain prohibited us from entering the fields much of the year so this method was not the most effective. I also heard of another way to deter deer from our fields and we will try that also.

Posted in Farm Life, Horses, Produce, UncategorizedTagged 2019, Drafts, farming, food, garden, homegrown by heros, horses, journey, kentucky proud, produce, veterans1 Comment on Starting the Season

Posts navigation

Older posts

Archives

Categories

Follow Us

Follow us on:

CBAcres Blog

Recent Comments

  • Anita Manley on Community Supported Agriculture (CSA)
  • Food on How to Multi-Task Spring Farm Projects
  • 온라인 슬롯 on Easy Steps to ‘Installing’ Bees into a Hive

Recent Posts

  • New Beginnings
  • CSA Time
  • Easy Steps to ‘Installing’ Bees into a Hive
  • How to Multi-Task Spring Farm Projects
  • Garden Irrigation
Back to top
Proudly powered by WordPress | Theme: sylvan by Saunders Technology.