First off, we are no experts! This is our first attempt at honeybees but I wanted to pass some information along that was very helpful in our venture. Below you will find the steps that we used to make our experience easy, quick, and pretty much simple.
- Find a Reputable Bee supplier
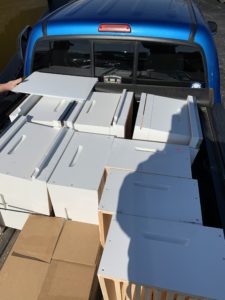
- Purchase all start-up equipment
- Ask a ton of questions while doing so… (of course you could make it easy and take a class from the extension office or your state bee club… we chose the hard way…never time to take a class this time of year)
- Place an order for the number of hives you want (also match the hive set-up too)
- Set up the site for the bees
- Assemble the frames
- Place the hives out in the prepared area
- Pick up your bees……. ‘install’ method below
Our first step was taking a ‘bee introduction’ class at our extension office. This was in November (I think) during our slow time at the farm. It gave me a lot of ideas, but not the answers I wanted. Honestly, I am afraid of the bees. I was never comfortable with them and do not like getting stung. But then who does, right? I wanted to ‘rent’ some hives from someone with experience. At this point I only wanted the pollinators and was not interested in the honey. Anyways, since this did not work I was told to buy hives and bees and let them go each year. I did not like this idea either so here we are brand new bee owners with all the equipment to go with them. Actually, we are pretty excited about it too, even as apprehensive as I am.
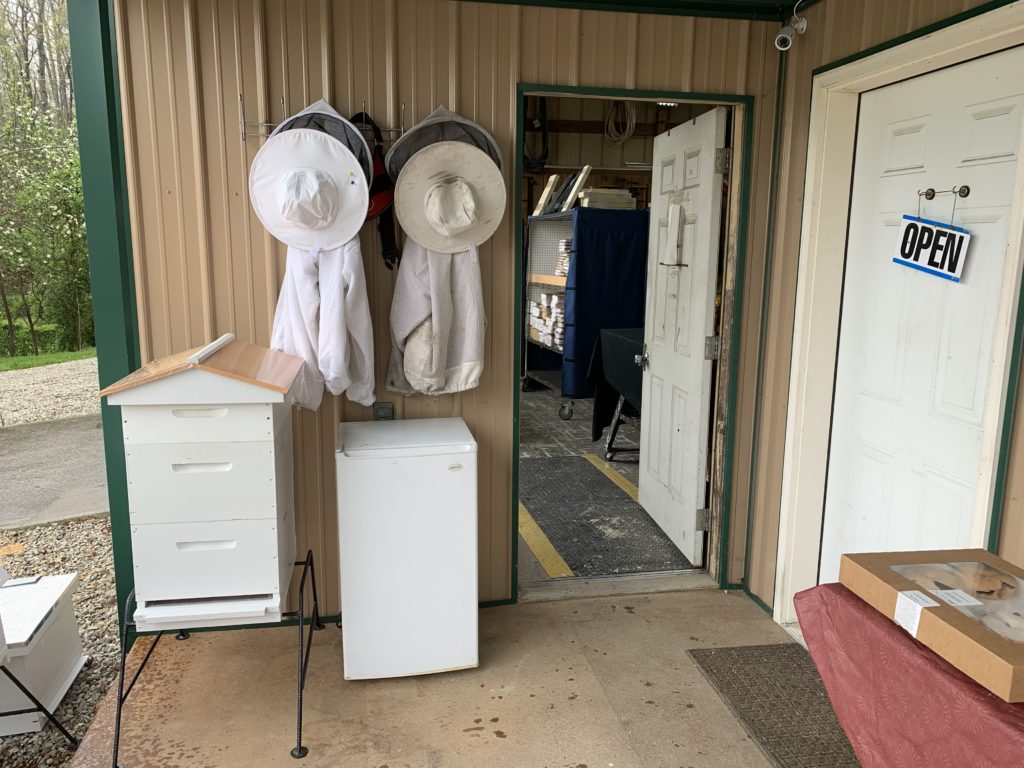
So, I found a supplier all the way across the state that would help me and answer all of the questions I had. What a great person! Jim Cross from the Honey and Bee Connection in Morehead, KY. He suggested only items that I needed to work the bees and not all of the extras and super nice toys that some have. We bought four hives, suits, vitamins, and other items that we needed for the start. Oh, and of course four packages of Italian bees.
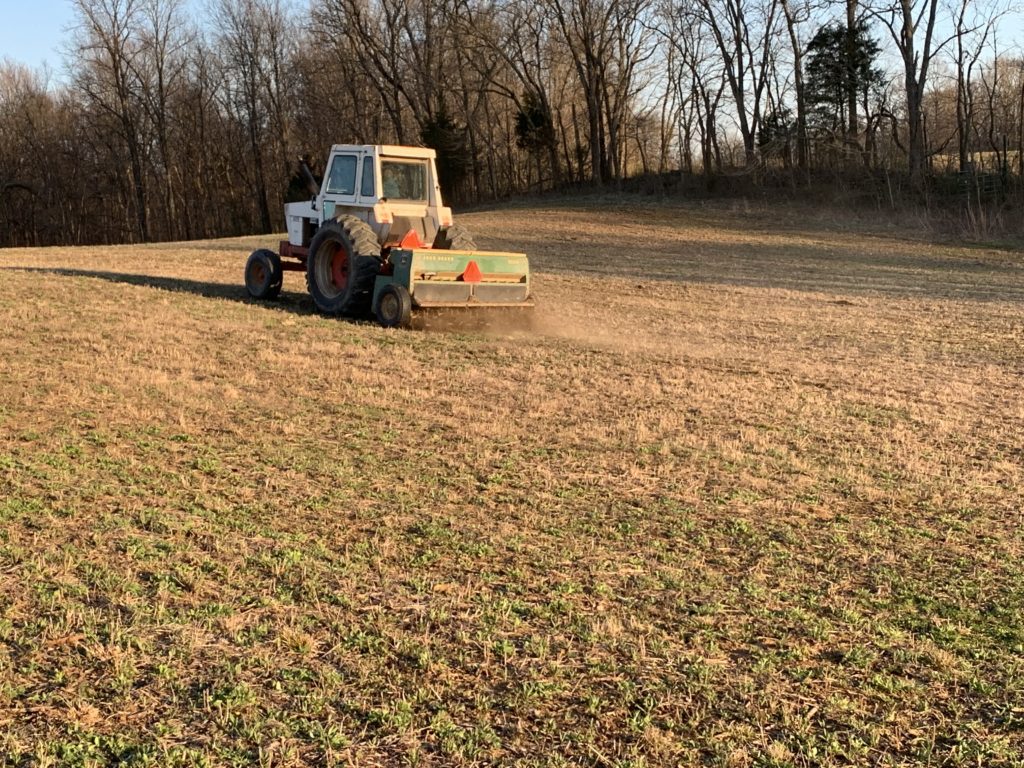
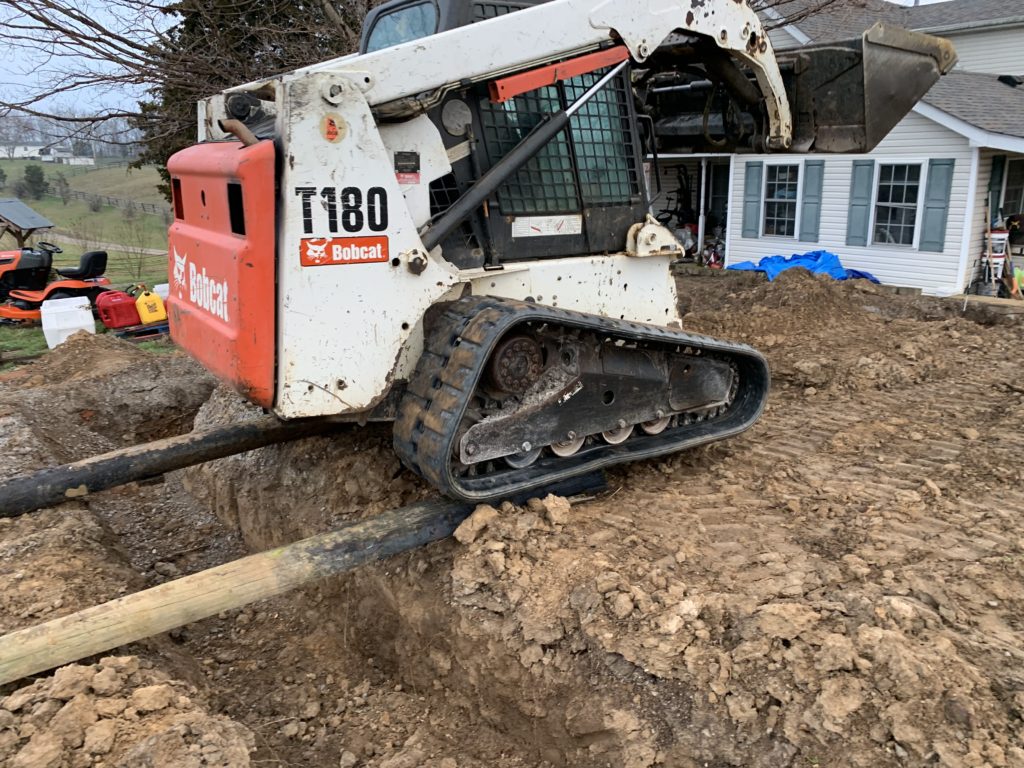
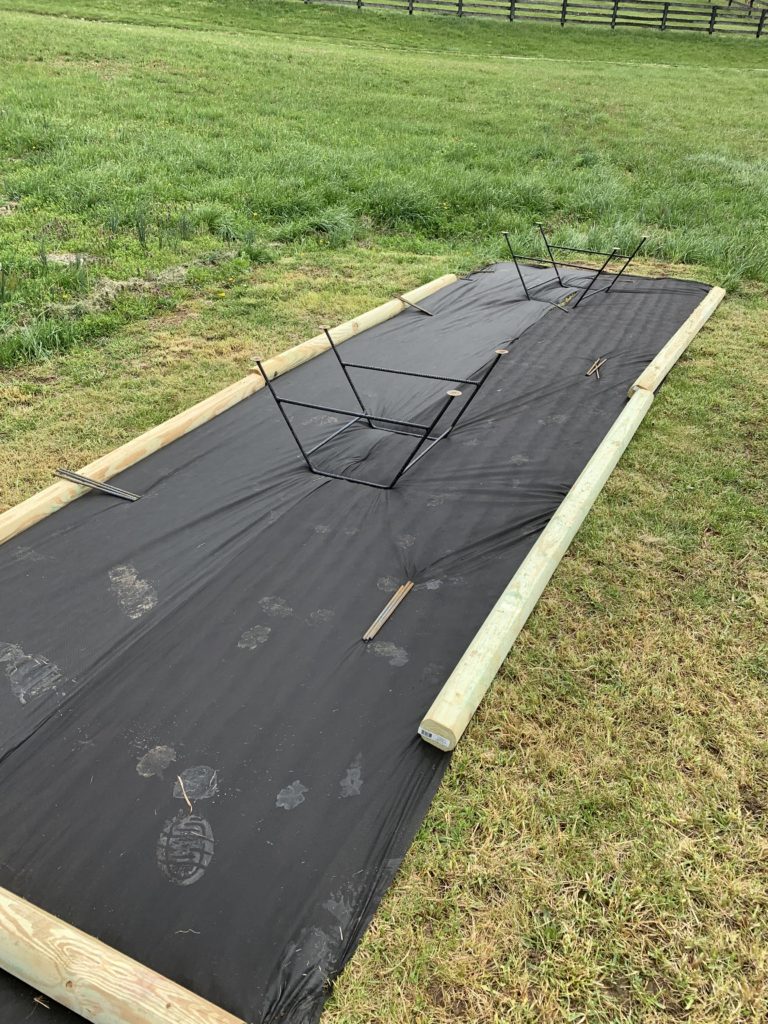
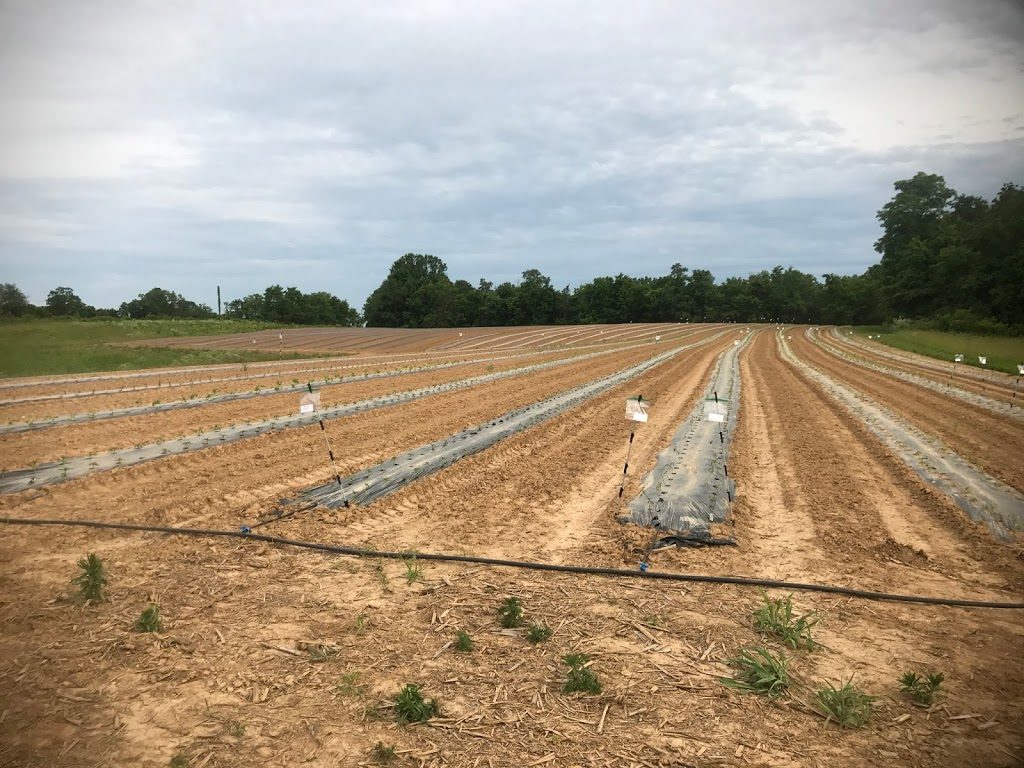
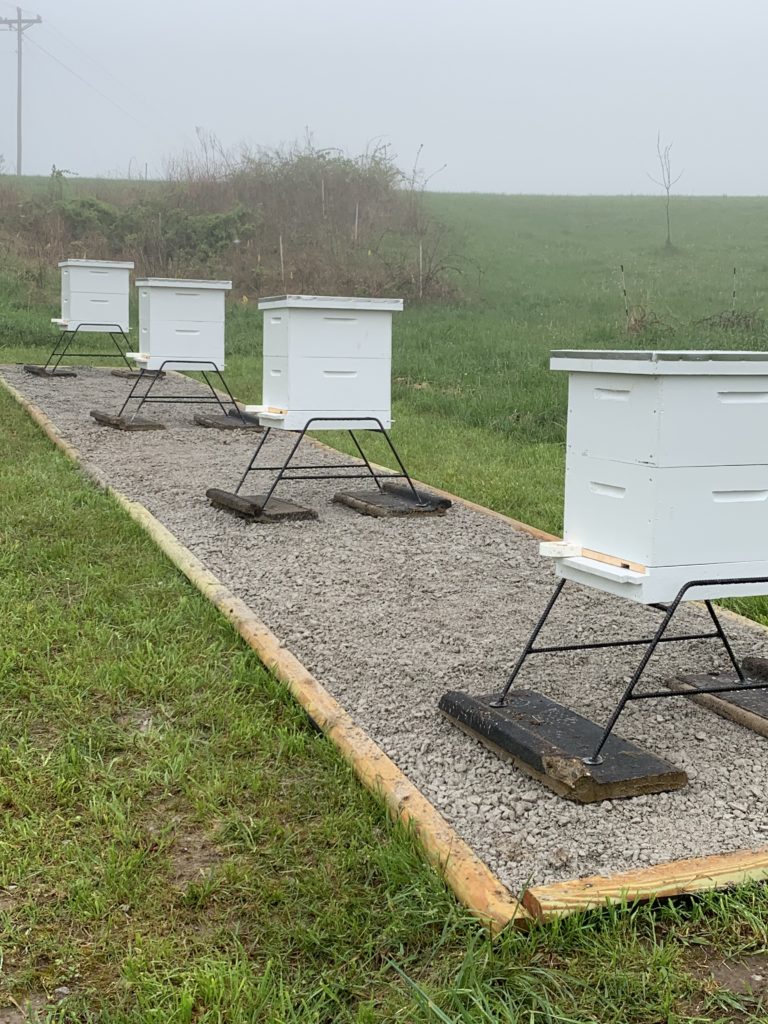
We picked out a site in our orchard. See picture above. This will provide the pollination for the orchard and also in a direct flight line with the produce fields. You want the opening of the hive to face South East. So I got out my compass on my phone and set up the site. We were going to remove the grass first… but ran out of time so I just placed the weed barrier paper on top and then we added a wooden barrier around the barrier. Then the gravel (we used limestone fines) was placed in and the hives set up facing southeast. Make sure to level the hives. We were told they need to be perfectly level. Off to pick up the bees.
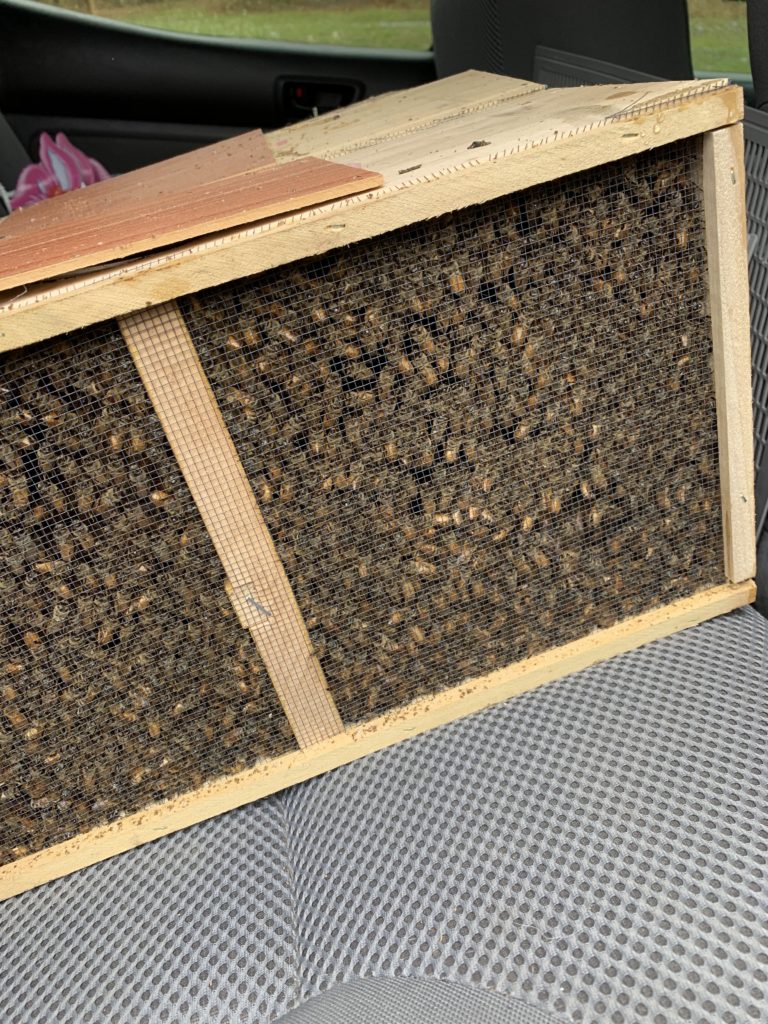
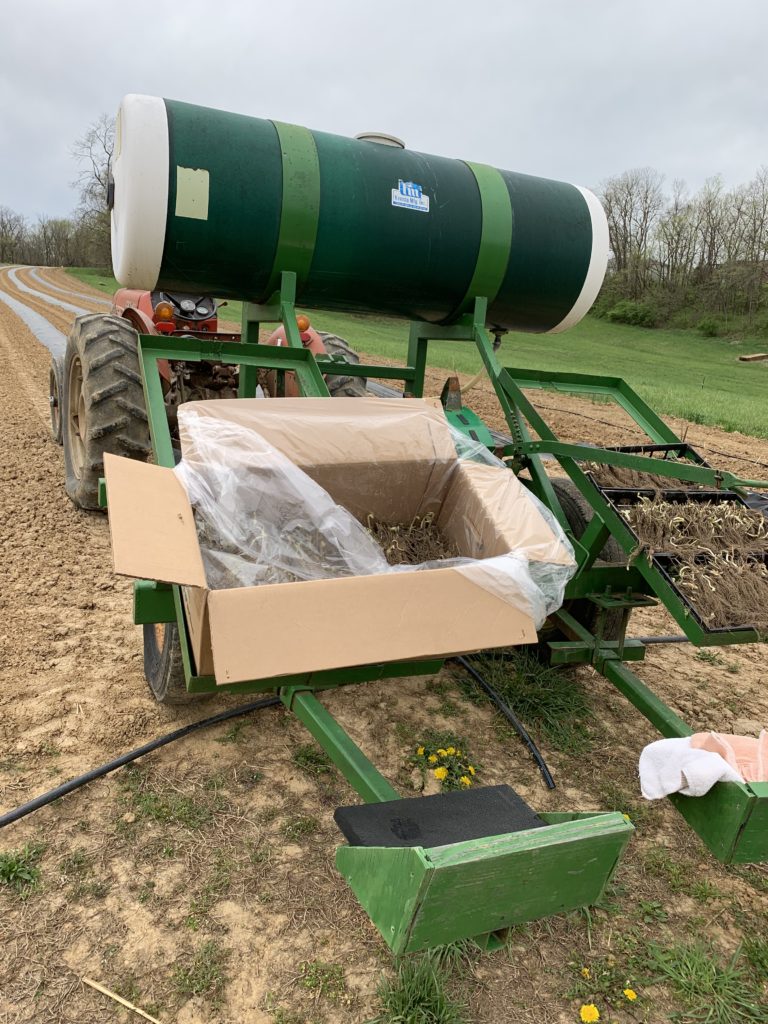
Bee Packages 
Queen Cage 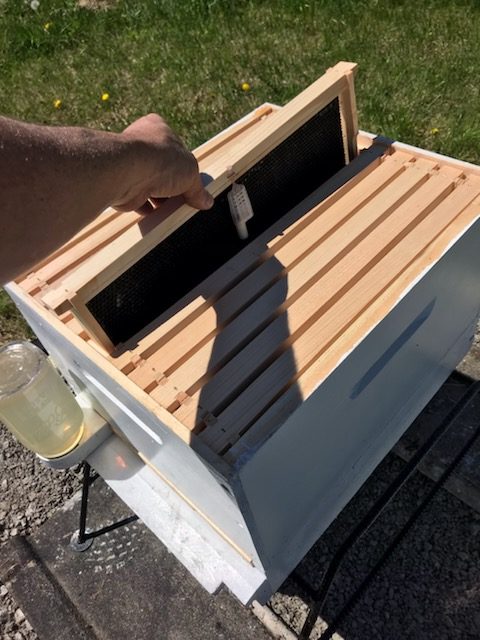
Queen Placement
At the time of pick-up, we were given the instruction on how to place the bees in the hives. This made it easy. Jim’s employee walked several of us through the process of how to do this.
- Tap the box on the ground to shake the bees down from the queen and the can that is in the box
- Remove the lid to the can, then the can and replace the top cover
- Shake the bees down again
- Remove the top cover and pull out the queen, shaking as necessary to remove the bees from her little cage, remove the cap and put the little hanger on the other side of her cage
- Take the queen cage and staple it to the middle frame at the top and push the frames back together
- Take the box of bees and place upside down so the hole will be over the queen
- Gently pull the cover our from the box
- Place an empty super over the bees, then the inside cover and lid
- 24 hours later, remove the queen cage and pull the extra super then replace the lid and leave them alone for a week
- One week later, make sure the queen is laying eggs
- One week later, make sure
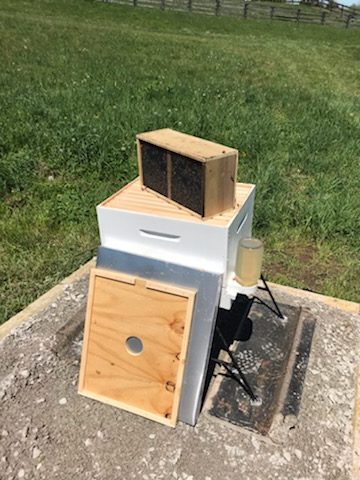
Bee Package Placement 
Adding the empty Super 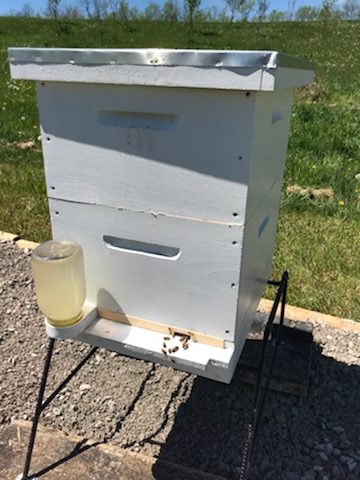
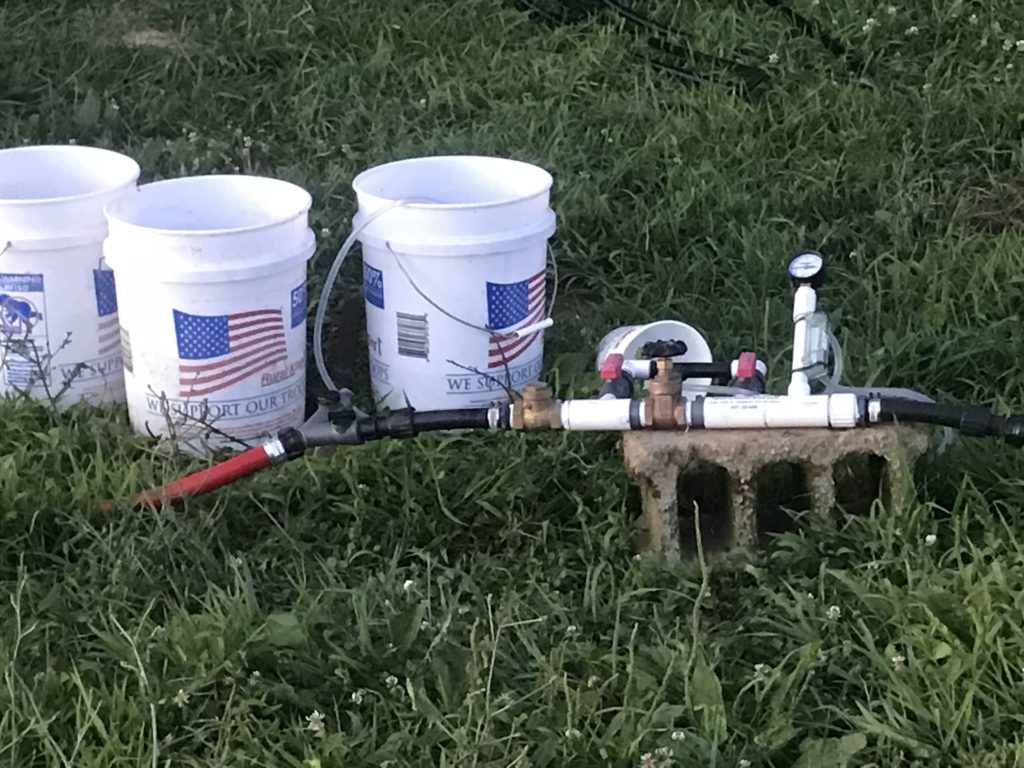
Feeding the bees
Sound simple enough, right? John had to do this himself. I had military duty so he was on his own and I have to say he did an excellent job. Even took the photos for me. If you have any questions, let us know. We will be glad to answer any that we can, and if not we can always ask The Honey and Been Connection.